Diagnosing a OnePlus phone efficiently requires a systematic elimination of variables rather than guesswork. Technicians start by distinguishing between software glitches and hardware failures, then isolate the specific component causing the fault. This process involves observing the device’s boot behavior, inspecting physical damage, and using diagnostic tools to read voltage levels. Mobile Square utilizes this structured approach to accurately identify problems ranging from battery degradation to motherboard shorts, ensuring a faster path to resolution.
Understanding this diagnostic flow helps users communicate symptoms effectively. This guide outlines the exact steps professional technicians take to troubleshoot devices, the tools they use, and what owners should consider before committing to a repair.
The Initial Assessment
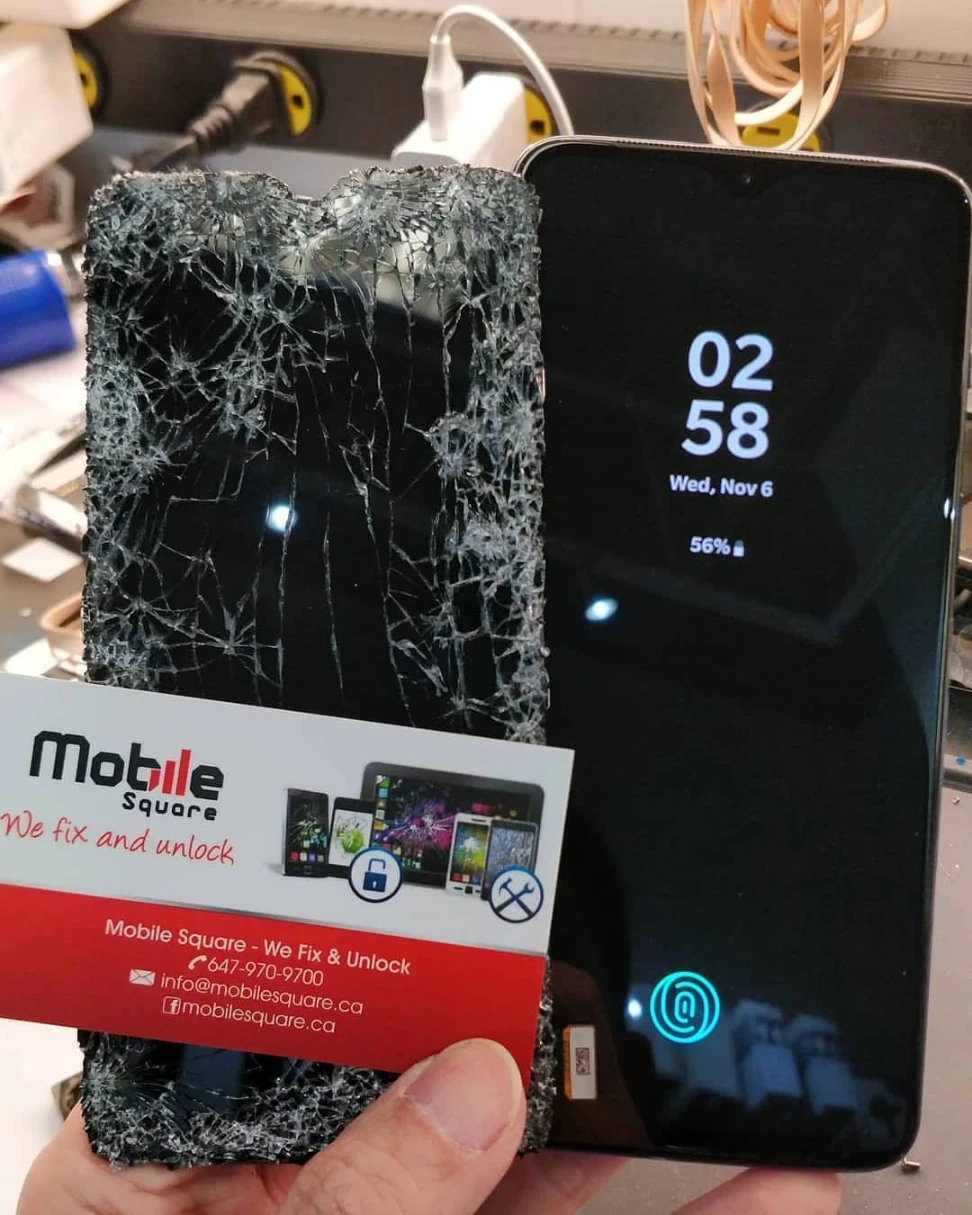
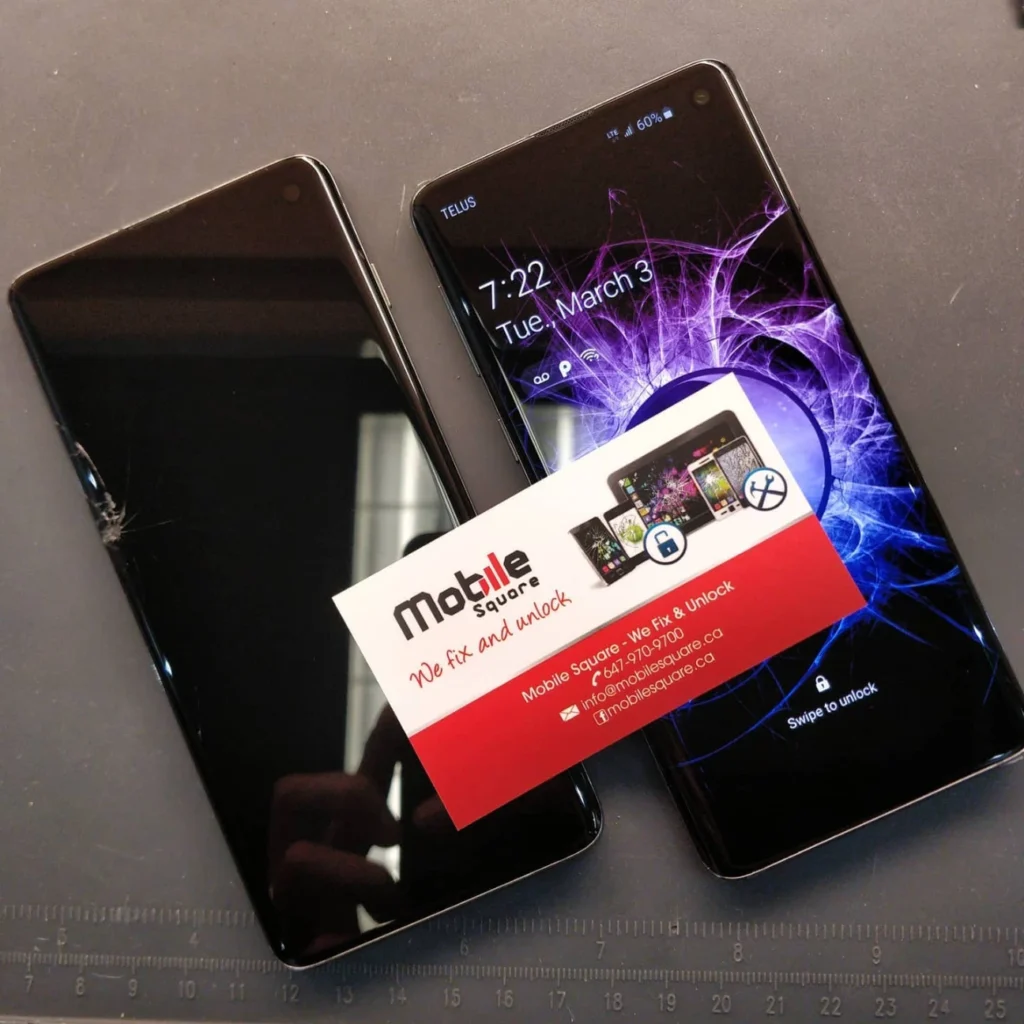
The diagnostic phase begins the moment a device hits the workbench. A technician looks for obvious signs of trauma or misuse that might explain the reported issue. Cracked screens, bent frames, or signs of liquid exposure often point directly to the root cause. However, some issues are internal and invisible to the naked eye.
The technician interviews the user to gather a history of the problem. Knowing if the phone dropped before it stopped charging or if the battery drained suddenly after an update provides vital context. This history helps narrow down the failure to a specific event or a gradual wear-and-tear issue. According to Statista, OnePlus has maintained a significant presence in the premium smartphone market, meaning many of these devices are high-performance units that undergo heavy daily usage, making accurate history essential for diagnosis.
Visual Inspection and Physical Checks
Once the history is noted, a physical examination follows. Technicians check the charging port for debris, which is a common cause of charging failures. Lint and dust compacted in the USB-C port can prevent a solid connection. A quick cleaning with a non-conductive pick often resolves charging issues without further disassembly.
Liquid damage is another primary concern. Most modern phones, including OnePlus models, have Liquid Contact Indicators (LCIs) inside the SIM tray slot or on the motherboard. If these white stickers have turned red, liquid has entered the device. This changes the diagnostic path significantly, as corrosion spreads over time and affects multiple components.
Software vs. Hardware Isolation
Determining whether the fault lies in the operating system or the physical hardware is the next major step. Technicians attempt to boot the device into different modes to observe its behavior.
- Safe Mode: Pressing and holding the power button, then tapping and holding “Power off,” boots the phone into Safe Mode. This disables all third-party apps. If the phone works perfectly in Safe Mode, a downloaded application is the culprit.
- Recovery Mode: If the phone boots but hangs on the logo, entering Recovery Mode allows technicians to wipe the cache partition or attempt a factory reset. A successful boot into Recovery Mode indicates the screen and motherboard basics function, but the operating system might be corrupted.
- Fastboot Mode: This mode communicates directly with the bootloader. If the phone connects to a PC in Fastboot mode but not in the OS, the software is likely the issue.
If the device fails to respond in any of these modes or shows a black screen, the problem is almost certainly hardware-related.
Common Symptom Analysis
To speed up the process, technicians rely on pattern recognition. Specific symptoms usually point to specific hardware failures. The table below outlines common issues and their probable causes based on experience.
| Symptom | Probable Cause | Immediate Diagnostic Action |
|---|---|---|
| Phone boots then shuts down | Battery failure or short | Check battery voltage with a multimeter |
| No sound during calls | Voice coil microphone debris | Inspect and clean top microphone mesh |
| Screen flickers or lines appear | Loose display connector or crack | Reseat flex cable; inspect under microscope |
| Overheating during idle | Background process or short | Monitor battery temperature; check CPU usage |
| Wi-Fi disconnects | Antenna board or IC damage | Test signal strength in different locations |
Advanced Hardware Diagnostics
When software fixes fail, the device must be opened. Technicians use precision screwdrivers to remove the back cover, being careful not to crack the glass. Once inside, they inspect the battery for swelling. A swollen battery is a definitive failure point and pushes against other components, causing pressure damage.
Using a DC Power Supply is standard practice. Technicians connect the power leads to the battery connector on the motherboard. This tool allows them to see exactly how much current the phone draws when plugged in.
- Zero Amps: The device draws no current. This suggests a break in the power line or a failed protection IC.
- Immediate High Amps: The current spikes instantly. This indicates a short circuit, often in the CPU or power management chip.
- Pulsing Current: The current jumps up and down. The phone is trying to boot but failing, often due to a storage (UFS) chip error.
Android Authority notes that modern fast charging standards used by OnePlus, like Warp Charge, put significant stress on charging circuits, making the power management ICs a frequent point of failure during advanced diagnostics.
Regional and Environmental Factors
Environmental factors play a surprisingly large role in device health. In colder climates, such as those experienced in Canada during winter months, lithium-ion batteries behave differently. The chemical reactions inside the battery slow down in low temperatures, causing voltage drops that can make a phone shut down even with 20% charge remaining Battery University . A technician might mistake a cold-stressed battery for a dead one if the diagnostic room is cold. Allowing the device to warm up to room temperature before testing provides a more accurate reading of battery health.
Things to Consider Before Making a Decision
Before approving a repair, users should evaluate several factors to ensure the decision aligns with their needs and budget.
- Device Age: If the phone is over three years old, investing in an expensive motherboard repair might not be cost-effective compared to upgrading.
- Data Recovery: If the phone contains irreplaceable data, the priority shifts from fixing the phone cheaply to preserving the data. Inform the technician immediately if data recovery is the primary goal.
- Parts Authenticity: Aftermarket screens often have lower resolution and poorer color accuracy than original OnePlus displays. Consider if saving money on a lower-quality part is worth the potential downgrade in user experience.
- Warranty Status: Check if the device is still under the manufacturer’s warranty. Opening the phone at a third-party shop usually voids this warranty.
Bonus Tips for Longevity
- Avoid ” Warp Charging” Constantly: While convenient, using the highest wattage charger daily generates excess heat. Using a standard 5V/2A charger for overnight top-ups extends overall battery lifespan.
- Restart Weekly: A simple restart once a week clears temporary cache files and closes background processes that might cause memory leaks.
Conclusion
Efficient diagnosis relies on a logical progression from simple checks to complex analysis. By visually inspecting the device, isolating software variables, and using tools like DC power supplies to measure electrical flow, technicians can pinpoint faults with high accuracy. Understanding this process helps owners make informed decisions about their devices. Evaluate the repair cost against the device’s value and the importance of the data stored on it. A professional diagnosis provides the clarity needed to move forward with confidence.
Need Professional Help?
If a OnePlus device is malfunctioning, Mobile Square offers professional diagnostic services to identify the root cause. Our expert technicians use advanced tools to ensure accurate assessments. Contact Mobile Square via email at info@mobilesquare.ca or call (647) 970-9700 to schedule a consultation or repair.
Sources
- Statista – Market share and shipment data for OnePlus smartphones, providing context on device prevalence.
- Android Authority – Technical articles regarding fast charging standards, Warp Charge technology, and Android system troubleshooting.
- Battery University – Educational resource on battery behavior, including the effects of temperature on lithium-ion performance.
FAQS
How much does a diagnostic cost?
Most reputable shops apply the diagnostic fee toward the final repair cost if the customer proceeds with the service. If the customer declines the repair, a standard labor fee applies for the time spent inspecting the device.
How long does a diagnosis take?
Standard diagnostics usually take between 30 to 60 minutes. Complex issues like motherboard shorts that require tracing circuits with schematics may take longer.
Will I lose my data?
Not during the diagnostic phase. Technicians perform non-destructive tests first. However, software repairs like factory resets will wipe data. Always ask the technician to preserve data before agreeing to any software formatting.
Can a bent frame be fixed?
Minor bends can often be straightened using specialized hydraulic presses. Severe bends that damage the motherboard layers are usually not economically repairable due to the risk of cracking the board during the straightening process.
Do you use original OnePlus parts?
Parts availability varies by model. Technicians should specify if a part is original (pull from another device), OEM (original manufacturer), or aftermarket. Always ask for the specific grade of part being used.