
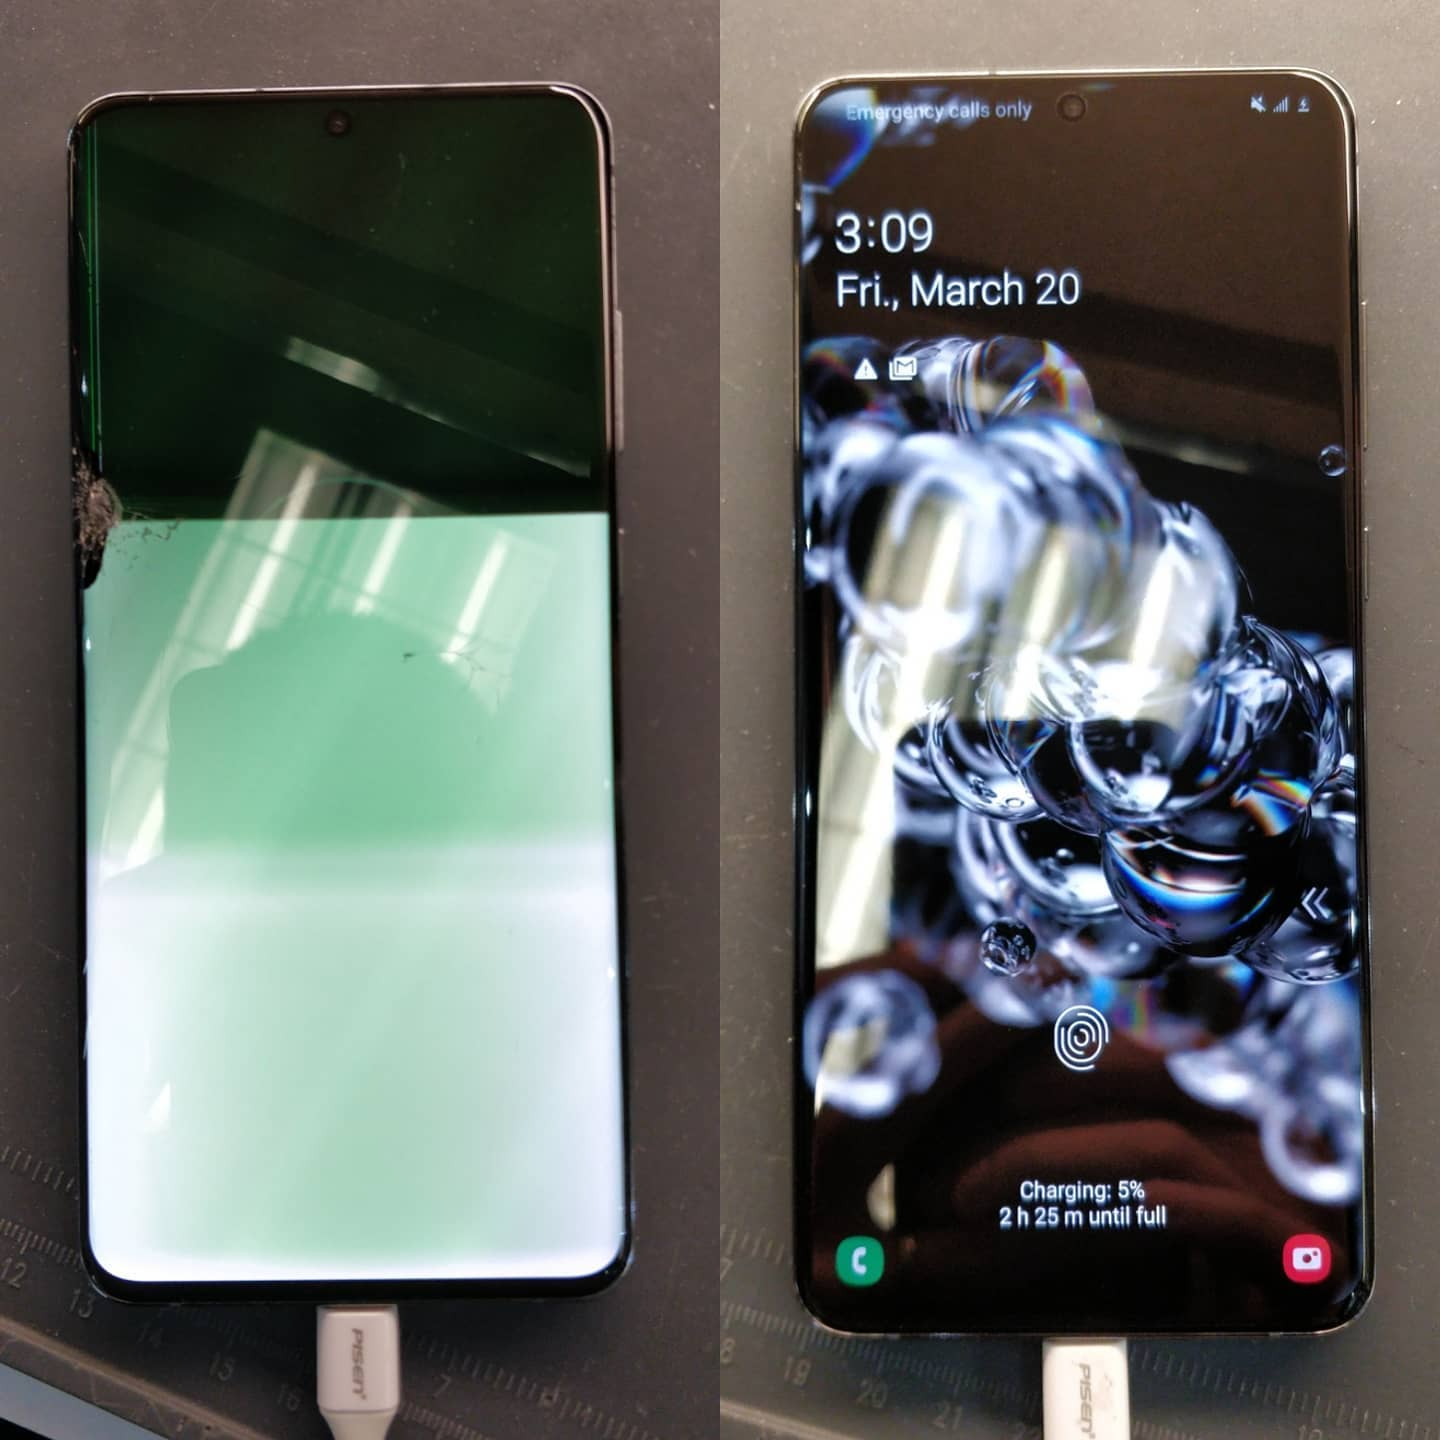
Your phone refuses to charge, and you are staring at a blank screen. In most cases, a non-working charging port is caused by simple pocket lint accumulation, a faulty cable, or physical wear to the internal pins. Resolving this rarely requires a new phone, as quick cleaning or a direct part replacement solves the issue in most instances.
Mobile Square will guide you through diagnosing the exact cause of your charging trouble and explore safe, rapid solutions to get your device back to full power. As experienced phone repair technicians at Mobile Square, we have handled thousands of these exact hardware issues and can help you identify whether you need a quick home fix or a professional water damage repair.
5 Common Causes of Charging Port Failure
Smartphone charging ports are highly exposed to the elements. Daily handling introduces small particles and physical strain that eventually disrupt the electrical connection. Understanding why your port failed helps you prevent the same issue from happening again.
1. Pocket Lint and Dirt Accumulation
Carrying your device in a pocket or bag allows tiny fibers to enter the port. Every time you plug in the cable, you compress this debris into a dense pack at the bottom, stopping the metal pins from touching. Over months of use, this debris creates a thick, solid block.
Bonus Tip: Shine a flashlight into the port. If you cannot see the metal contacts clearly, dirt is likely the culprit.
2. Damaged or Bent Internal Pins
Rough cable insertions or the use of off-brand accessories can easily bend the small metal contacts inside. Once these pins lose their original shape, they can no longer establish a secure circuit. USB-C ports feature a center tongue that can easily crack if a cable is forced in at an angle. Apple Lightning ports have an open cavity that acts as a collector for lint, meaning they require cleaning much more frequently.
3. Liquid Exposure and Corrosion
Moisture from humidity, rain, or accidental spills causes rapid rusting of the copper contacts. This chemical barrier blocks the current even if the physical connection seems firm. Liquid damage can happen silently over time, especially if you use your phone in humid environments like bathrooms.
4. Physical Wear and Loose Solder Joints
Constantly wiggling the cord to start charging weakens the solder joints connecting the port to the motherboard. Over time, the entire jack becomes loose and fails. This physical stress slowly breaks the electronic path, requiring a technician to resolder the connections.
5. Low-Quality Charging Accessories
Cheap, uncertified cables often feature improper sizing. Inserting these off-spec plugs can permanently stretch or deform the delicate metal elements inside your phone. This stretching means even your official charger will no longer fit tightly or deliver a stable electrical current.
How to Safely Check Why Your Device Is Not Charging
Before seeking professional help, you can run a few quick checks. This ensures you do not spend money on a repair when a simple accessory swap would suffice.
Start by testing your current setup with another device. If your charger powers up a different phone, the issue lies within your original handset.
Next, inspect the port physically under bright light. If the cable feels loose or wiggles when inserted, you are likely dealing with physical wear or debris.
| Symptom | Probable Culprit | Immediate Action |
|---|---|---|
| Cable fits loosely and falls out | Packed lint or dirt | Clean with a wooden toothpick |
| Charging only works at an angle | Broken internal pins or loose solder | Professional hardware repair |
| Device shows charging sign but percentage drops | Defective charger or damaged power controller | Swap cable and adapter; run diagnostic |
| No response at all when plugged in | Dead battery or fully broken port | Seek technician inspection |
Taking the time to diagnose your hardware before replacing it is both cost-effective and environmentally friendly. A study by the Global E-Waste Monitor reports that only 22 percent of small IT equipment, including phones, gets properly recycled [Statista]. Extending your device’s lifespan keeps toxic waste out of the soil.
Safe Methods to Clean and Fix Your Charging Port at Home
If you suspect simple dirt is blocking the power, you can perform a safe cleaning. Never use metal objects like needles or paperclips, as these can permanently short-circuit the internal board or scratch the delicate pins.
Before you begin cleaning, make sure to completely power off your device. This reduces the risk of shorting out any electrical pins if you accidentally touch two contacts at the same time.
1. The Dry Wooden Toothpick Method
Gently insert a dry, non-conductive wooden toothpick or plastic dental pick into the port. Carefully scrape the bottom edges to pull out compressed lint, making sure not to apply force against the side pins. Do not push deep into the port, as you only want to scrape the very back wall where lint accumulates.
Bonus Tip: Lightly blow compressed air into the opening after scraping to clear out any remaining loose particles. Avoid using your mouth, as warm breath introduces unwanted moisture.
2. The Isopropyl Alcohol Wipe
For sticky residues or light rust, wrap a tiny piece of microfiber cloth around your toothpick. Dampen it slightly with 99% isopropyl alcohol and gently clean the interior walls. Ensure the device is fully off before attempting this and let it dry completely for ten minutes.
Things to Consider Before Choosing a Repair Option
When a home cleaning fails, you must decide between a DIY part swap and professional assistance. Keep your technical skill level and the overall value of your phone in mind.
Attempting a complete port swap on your own involves melting micro-solder connections. One small error with a soldering iron can permanently ruin your phone’s motherboard. This often turns a simple repair into an expensive replacement.
In some smartphones, the charging port is soldered directly onto the main motherboard. This requires complex micro-soldering under a microscope, which takes significant training to perform safely. Other devices use a separate daughterboard, which is easier to swap but still requires specialized tools to open the glass back panel safely.
According to data published by Sundr, repairing a smartphone saves approximately 65 kg of carbon emissions compared to manufacturing a new device. Opting for a professional repair is highly sustainable and financially smart.
At Mobile Square, we always analyze the physical integrity of the port housing before suggesting a full replacement. Keeping your original phone working longer is our primary goal.
Resolving Your Charging Port Problems Sustainably
A failing charging port does not mean your smartphone is obsolete. Most issues stem from simple blockages or worn cables, which are straightforward to resolve.
Take a moment to test your accessories and check for lint before making any major decisions. If the physical parts are damaged, seeking professional help protects your investment and prevents unnecessary electronic waste.
Let Us Restore Your Device’s Power
If your phone still isn’t charging after trying these steps, let us help you. We provide fast, reliable hardware diagnostics to get your phone working like new. Contact Mobile Square today at 647-970-9700 or email us at info@mobilesquare.ca to receive a free estimate. Our expert team will quickly assess your device and deliver a safe, durable fix so you can get back to your day without interruption.
Common Questions About Smartphone Charging Port Repair
Can I clean my charging port with a metal needle?
No, you should never use metal tools inside the port. Metal needles conduct electricity and can easily short-circuit the internal boards or permanently scratch and break the delicate contact pins inside your port.
How much does it cost to fix a broken port?
Costs vary depending on your phone model. Minor cleanings or simple adjustments are highly affordable, while complete motherboard-level port replacements are still far cheaper than purchasing a new smartphone.
Why does my phone only charge when I wiggle the cord?
This symptom indicates that the internal solder joints connecting the port to the mainboard have cracked or loosened. Wiggling makes a temporary connection but eventually destroys the hardware.
Can wireless charging bypass a broken port?
Yes, if your phone supports wireless charging, you can use it as a temporary solution. However, this does not fix the physical port, which prevents wired data transfers and fast charging.
How can I prevent future charging port damage?
Always use high-quality cables and plug them in gently. Keep your phone out of lint-heavy pockets and occasionally clear the port using clean compressed air to prevent buildup.
Sources
- Global E-Waste Monitor – Data source outlining global smartphone and IT hardware recycling rates.
- Sundr – Environmental metrics highlighting carbon savings achieved through hardware repairs rather than replacement.